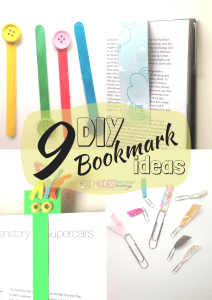
I was recently working on a post for Read Little Muslims about DIY bookmarks. These are bookmarks you can easily make at home for yourself or with your kids with fairly standard craft supplies. Most of them were super easy and I made them in just a few minutes.
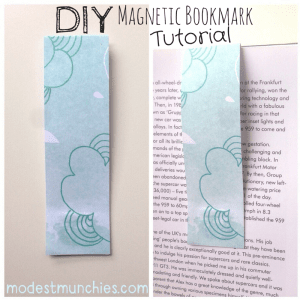
 You’ll be able to read that post soon, but for now I wanted to share a tutorial to one of the bookmarks I shared in that post, a DIY Magnetic Bookmark.
 A while ago I noticed Mr Munchies used a magnetic bookmark in his English translation Quran. The one he has is from Kikki.K. I thought these were such a brilliant, yet simple idea and had planned to make one of my own. I have made versions of it over the years, some with card, some laminated, some with craft paper. They are simple and you can have fun with the way you make and decorate them. Like the name suggests the bookmark is magnetic, it has 2 sides, each side with a small piece of magnetic tape/paper that holds your page between the 2 sides.
The thing I love about it is that if you’re making your own, you can make the 2 sides different, for instance one side can be plain and the other have some writing on it. This way you can easily tell which side of the book you’re on. I one like this a while back which I printed and laminated, it’s the one I currently use for my Quran. This bookmark had my name on one side and Bismillah printed on the other, I’ve found this as such a blessing in being able to determine which side of the page I continue reading from.
To make your own, simply watch the tutorial below. You don’t really need much instruction for these but the video can help you along the way.


Awesome, great tutorial!
Thank you!
This is so simple and effective! And I LOVE the video! You should definitely consider more videos in the future 😉
Lol. Thanks! There’s just not enough hours in the day!